
Sourdough Blueberry Bagels

Learn how to make sourdough blueberry bagel with real blueberries, and easy overnight schedule and that classic chewy bagel texture!

These sourdough blueberry bagels are chewy, lightly sweet, and packed with real blueberries. Made with active sourdough starter, maple syrup, and plenty of berries, they have a gorgeous naturally purple color and little pockets of blueberry throughout.
While homemade bagels might sound like one of those projects that requires an entire weekend and a degree in bread science, they really aren’t. The dough mixes up the night before, ferments while you sleep, and then gets shaped, boiled, and baked the next day.
The result is batch of chewy, homemade blueberry bagels that are pretty enough to make breakfast feel special without making sourdough unnecessarily complicated.

Why you’ll love this recipe
- Real blueberry flavor – Mashed blueberries flavor and color the dough while whole berries create little pockets of blueberry throughout, plus add a gorgeous natural purple color to the dough.
- Easy overnight schedule – Mix the dough before bed, let your starter do its thing, and finish the bagels the next day.
- Classic bagel texture – Boiling the bagels before baking gives them their chewy exterior an soft crumb.
Love homemade bagels? Don’t stop at blueberry! Also try these discard pumpkin bagels and these everything bagel sourdough bagels!
Making blueberry sourdough bagels
Here is a brief overview of how to make these bagels so you know what to expect before you start. For the full set of written directions, please make sure you scroll down to the recipe card below.
Step One: Prepare the blueberries
Thaw the frozen blueberries, and then mash them with a fork or potato masher.
Don’t drain away any of the juice, the mashed berries and their juice become part of the liquid in the dough and give the blueberries their coloring


Step Two: Mix the dough
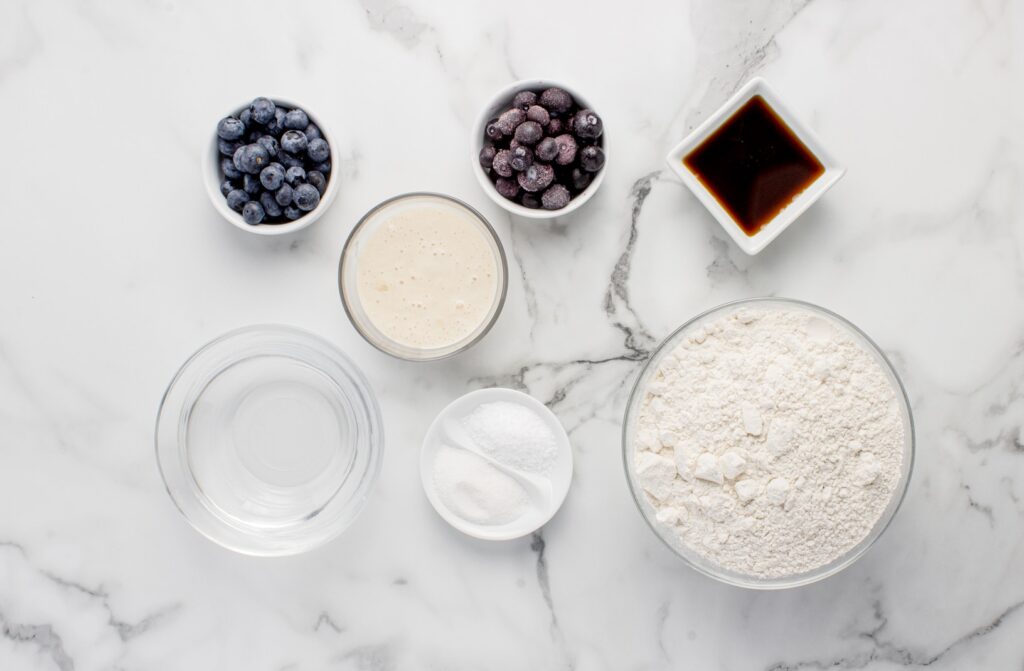
Add the mashed berries, active starter, 190 grams water, maple syrup, flour, salt, whole blueberries and sugar to the bowl of a stand mixer fitted with the dough hook.
Mix on low speed for 5-10 minutes, until a smooth, strong dough forms.
Add in the remaining water a little at a time as the dough mixes. You may not need all of it! Blueberries contain a lot of moisture, and exactly how much they release can vary from batch to batch. The finished dough should feel firm and just slightly tacky. Bagel dough isn’t supposed to be loose and sticky like some other sourdough doughs.
If the dough is too sticky, add a little more flour (like a Tablespoon at a time), until it becomes easier to handle.


Step Three: Let the dough rise overnight
Cover the bowl and allow it to rest on the counter overnight, about 8-12 hours.
By morning, it should look noticeably puffier and be close to doubled in size.
Step Four: Shape the bagels
Divide the dough into 12 equal pieces. Mine were about 126 grams each.
Roll each portion into a smooth ball. Poke your finger through the center, then gently stretch the opening to create the bagel shape.
Note: Go ahead and make the hole a little bigger than you think it needs to be. The dough will spring back after shaping and puff during the final proof and boiling. If you start with a tiny hole, you may end up with a bun instead of a bagel. Aim for an opening about 1.5″ wide.
Place each shaped bagel onto a small square of parchment paper. This makes them easier to transfer into the boiling water without deflating them.


Step Five: let the bagels rise
Cover the shaped bagels and let them rise for about 4-6 hours, or until they look noticeable puffy.
Step Six: Boil the bagels
Preheat the oven to 425F.
Bring a large pot of water to boil and stir in the sugar.
Working with only a few at a time, carefully lower the bagels into the boiling water. Boil for 1 minute, flip, and boil for another minute on the second side. Don’t crowd the pot. The bagel needs enough room to float freely, and adding too many at once can drop the temperature of the water.
Note: A properly proofed bagel should float when it hits the water. If it sinks immediately, carefully remove it, return it to the tray, and give the remaining bagels more time to rise.


Step Seven: Bake
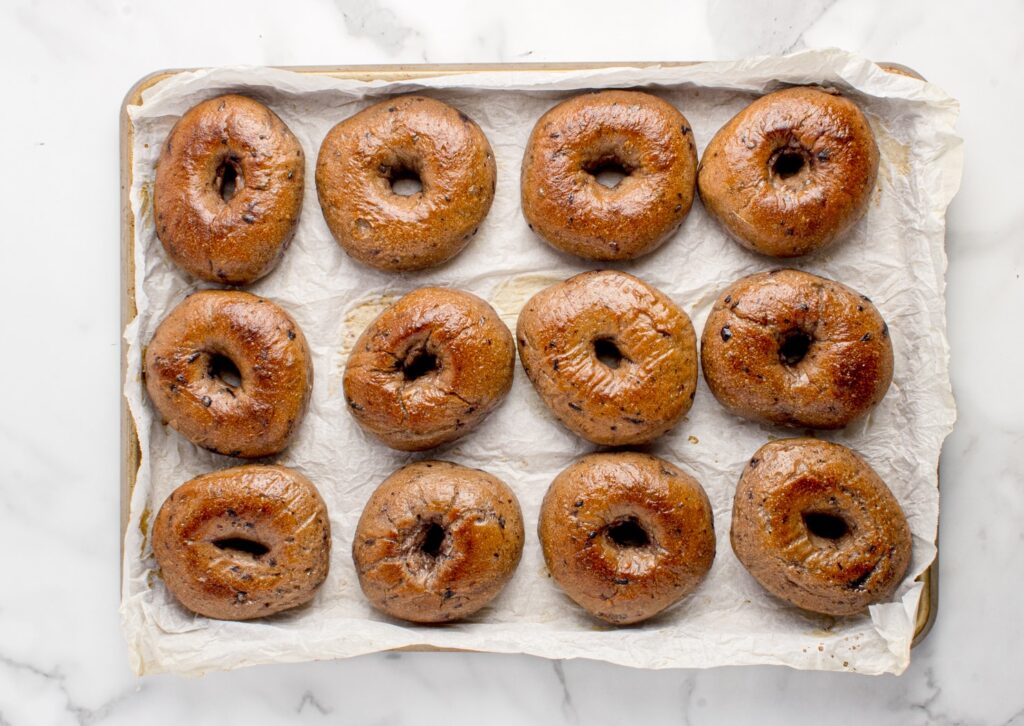
Transfer the boiled bagels to a baking sheet and bake for 15-20 minutes until lightly browned. If you are checking them with an instant-read thermometer, the centers should reach about 205-210F.
Allow them to cool completely before slicing. Cutting into them while hot can compress the crumb and make the inside seem gummy.
Baker’s Schedule
Day One:
- Morning: Feed the sourdough starter and allow it to become bubbly and active.
- Evening: Prepare blueberries, mix and knead the dough, and let it rest for 30 minutes. Bulk Ferment overnight for 8-12 hours.
Day Two:
- Morning: Divide and shape the bagels, then allow them to proof for 4-6 hours.
- Afternoon: Boil and bake the bagels
Remember to watch the dough and not the clock! The timing of this recipe can vary depending on the temperature and humidity of your kitchen.

Storage Info
These homemade bagels are best the day they are baked, but they will keep well for several days.
Once completely cooled, store them in an airtight container or resealable bag at room temperature for up to 3 days.
You can also freeze the bagels for up to 3 months. I recommend slicing them before freezing, and then place in a freezer safe storage bag, pressing out as much air as possible before freezing in a single layer.

Sourdough is better when shared
If you try this recipe, let me know! Leave a comment and rating below.
Love and links are always appreciated! If you’d like to share this recipe, please link to the post directly for the recipe, please do not copy and paste or screenshot. Thank you so much for supporting me. XOXO – Jenni
Sourdough Blueberry Bagels
Ingredients
Method
- In the morning, feed your sourdough starter with 10 g starter, 50 g water, and 50 g flour. Let it rise until it's bubbly and active.
- Thaw the frozen blueberries, then mash them with a fork or potato masher.
- Add the mashed blueberries, active starter, 190 g water, maple syrup, flour, salt, whole blueberries, and sugar to the stand mixer bowl that’s been fitted with the dough hook. Mix the ingredients on low speed for 5 to 10 minutes, until a smooth dough forms.
- Add the remaining 20 g water a little at a time as the dough mixes. You may not need all of it. The dough should feel firm and just slightly tacky.
- If the dough is sticking heavily to the bowl or your hands, mix in a little more flour, 1 tablespoon at a time, until it’s easier to handle.
- Cover the bowl and leave it on the counter overnight, about 8 to 12 hours. By morning, the dough should be noticeably puffier and close to doubled in size.
- Divide the dough into 12 equal pieces. I divided mine into 126-gram portions.
- Roll each piece into a smooth ball, then poke a hole through the center with your finger. Gently stretch the hole until it’s larger than you think it should be. The dough will spring back and the hole will shrink as the bagels rise.
- Place each bagel on a small square of parchment paper.
- Cover the bagels and let them rise for 4 to 6 hours, or until they look puffy.
- Heat your oven to 425°F.
- Bring a large pot of water to a boil and stir in the sugar. (Don’t add baking soda to the water. It can react with the blueberries and turn the bagels a greenish color.)
- Boil the bagels a few at a time for 1 minute on each side. If a bagel sinks instead of floating, it’s not ready yet. Put it back on the tray and let it rise a little longer before trying again.
- Transfer the boiled bagels to a baking sheet and bake for 15 to 20 minutes, or until they’re lightly browned. If you’re using an instant-read thermometer, the inside should reach 205 to 210°F. I also turned my bagels over at the 10-minute mark so the bottoms could brown as well.
- Let cool completely before eating.


