
Sourdough Ciabatta

This sourdough ciabatta bread is light, chewy, and full of airy holes with a crisp crust. Perfect for sandwiches or dipping, made with active sourdough starter.

Sourdough ciabatta is one of those breads that looks incredibly impressive… but is actually much simpler than it seems once you understand what’s going on.
It’s soft, chewy, and full of those beautiful airy holes that make it perfect for sandwiches, dipping in olive oil, or just tearing into while it’s still slightly warm. The crust bakes up lightly crisp, while the inside stays tender and full of flavor from your sourdough starter.
And yes, this dough is messy! Very messy. But that’s exactly what gives ciabatta its signature texture, so we’re going to lean into it instead of fighting it.

Why you’ll love this recipe
- Classic airy texture – High hydration dough creates those beautiful open holes ciabbata is known for.
- Big sourdough flavor – A slow overnight rise gives this bread a deep, rich flavor.
- Looks fancy, feels doable – Once you understand the process, it’s surprisingly simple to make.
Ciabatta is a high hydration dough, which means it has more water than most breads. Instead of a firm dough you can shape easily, this one feels soft, sticky… and honestly a little bit like dough soup. That’s not a mistake, that’s the goal.
The wetter dough creates steam inside the bread as it bakes, which gives you those big, open air pockets and chewy texture. The key is to handle the dough as little as possible so you don’t lose all that air you worked to build.
Want to try some other high hydration recipes? Try my high hydration sourdough cinnamon rolls (seriously, sooo worth the work!) or for an easier introduction into high hydration, check out my chocolate sourdough focaccia recipe.
How to make ciabatta with sourdough
Here is a brief overview of how to make this recipe so you know what to expect. For the full written directions, including ingredient amounts, please scroll down to the recipe card below.
Step One: Mix the dough
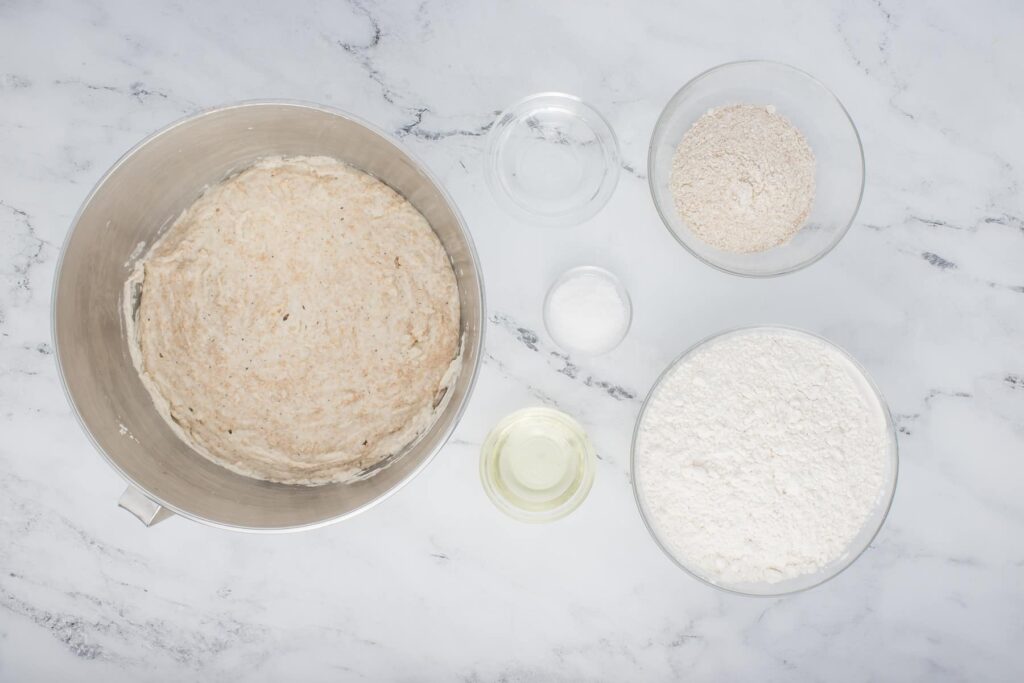
In a stand mixer, combine the starter, flour, salt, olive oil, and most of the water. Mix until everything comes together.
Switch to the dough hook and knead for about 10 minutes. Slowly add the remaining water and continue mixing until it is absorbed. The dough will be very soft and sticky, but smooth.
Transfer the dough to a lightly oiled bowl.


Step Two: Stretch and folds
Over the next 2 hours, you’ll do a series of stretch and folds to help develop the dough.
Every 30 minutes: Gently pull one side of the dough up and fold it over itself. Rotate the bowl and repeat until you’ve worked all the way around. The dough will start off very loose and messy, but will gradually become smoother and stronger.


Step Three: Cold Ferment
Cover the bowl and place it in the refrigerator overnight (about 7–12 hours). This slow fermentation builds flavor and makes the dough easier to work with.
The next day, let the dough sit at room temperature for about 2 hours before shaping.
Step Four: Shape the dough
Generously flour your counter and gently turn the dough out onto it. Using your fingertips, carefully stretch the dough into a rectangle about ½ inch thick. Try not to press out too much air.
Cut the dough into two pieces and gently shape each into a loose rectangle. Think “rustic loaf,” not perfection. It’s really not capable of holding much shape beyond a loose rectangle.
Place the loaves onto a well-floured couche (or towel), dust lightly with flour, and cover.
Step Five: Final Rise
Let the loaves rest for about 1½ to 2 hours, until they look puffy and airy. When gently poked, the dough should have very little spring back.
Step Six: Bake
Preheat your oven with a baking stone (if you have one) and a pan on the bottom rack. Transfer the loaves onto parchment paper and carefully move them into the oven. Add ice to the bottom pan to create steam.
Lower the temperature and bake for 10 minutes. Rotate the loaves and bake another 10 minutes, until golden brown.
Turn off the oven, crack the door, and let the bread sit inside for a few minutes before removing. Cool completely before slicing.


Recipe Notes:
- This dough is supposed to feel sticky. Resist the urge to keep adding flour—trust the process.
- Using a kitchen scale really matters here. High hydration dough depends on accurate ratios.
- And if you feel frustrated at any point? Walk away for a few minutes. Ciabatta rewards patience, not perfection.

Baker’s Schedule
This timeline is designed for a flexible, overnight fermentation. This gives a general idea of what to expect. Remember to watch the dough and not the clock, as the timing can vary depending on the temperature and humidity of your kitchen.
Day One
- Mixing the dough – 15 minutes
- Stretch and folds – 2 hours (with folds every 30 minutes)
- Finishing bulk fermentation – 30 minutes
- Overnight cold fermentation – 7 to 12 hours
Day Two
- Removing dough from the fridge and resting – 2 hours
- Shaping the loaves – 10 to 15 minutes
- Final rise – 1½ to 2 hours
- Preheating the oven and baking stone – 30 to 45 minutes
- Baking – 20 minutes
- Cooling time – At least 1 hour before slicing

Sourdough is better when shared
If you try this recipe, let me know! Leave a comment and rating below.
Love and links are always appreciated! If you’d like to share this recipe, please link to the post directly for the recipe, please do not copy and paste or screenshot. Thank you so much for supporting me. XOXO – Jenni

Sourdough Ciabatta
Ingredients
Method
- In the bowl of an electric mixer with a paddle attachment, combine the flour, starter, salt, olive oil, and 280 grams of water until the ingredients cohere.
- Switch to the dough hook and knead for 10 minutes.
- Add the rest of the water to the dough and mix slowly until it is absorbed. The dough will be very soft and sticky.
- Lightly oil a large bowl and place the dough in it.
- Cover the bowl with plastic wrap and allow it to ferment at room temperature for 30 minutes.
- While keeping the dough mostly in the bowl, grab two ends of the dough, pull and stretch it (imagine taffy) and fold it back on itself. This is a messy, and more like oozing than folding. Repeat.
- Cover the bowl with the plastic wrap again and allow it to ferment for another 30 minutes.
- Repeat the folding, then re-cover the dough and allow it to sit for another 30 minutes.
- Place the covered bowl in the fridge and let it sit overnight (7-12 hours).
- In the morning, take the dough out of the fridge and allow it to sit at room temperature for about 2 hours.
- Liberally dust your counter with flour, and turn the dough out onto it.
- Sift a little flour on top of the dough.
- Starting at the center, and being careful not to deflate the dough too much, use your fingertips to gently stretch the dough out into a rectangle.
- Cut the rectangle in half with a pastry scraper so that you form two loaves.
- Take each loaf and push the sides in a bit, gently forming each half of the dough into a “loaf” shape (about 10-11 inches long and about 4-5 inches wide).
- Place each loaf onto a floured couche, sift a little flour on top, cover, and allow to rise until doubled, about 1.5-2 hours.
- Preheat the oven to 475 Degrees, with a baking stone on the middle rack and a cast iron pan on the bottom rack.
- Gently and quickly transfer the loaf from the couche to the baking stone.
- Toss 1/2 cup of ice cubes into the cast iron skillet below, and close the door.
- Bake for 5 minutes.
- Lower the temperature to 450 and bake for an additional 20 minutes, or until the bread is golden brown (rotate the bread at 10 minutes to ensure even baking).
- Turn off the oven, leave the bread in the oven, and crack the door open with a wooden spoon wrapped in foil, and allow the bread to cool for 5 minutes.
- Remove the bread from the oven and place on a wire cooling rack until completely cool.
- Brush off any excess flour from the surface of the bread.
Nutrition
Tried this recipe?
Let us know how it was!Sourdough Ciabatta recipe has been adapted from Wild Yeast and “The Bread Bible” by Rose Levy Beranbaum.


