Ingredients
Method
- Feed your starter and use it when it is bubbly, has risen significantly, and is at or near its peak. A starter that doubles or triples in volume after feeding is perfect for this recipe.
- In a large mixing bowl, combine the butter, pumpkin puree, active sourdough starter, milk, sugar, flour, pumpkin pie spice, and salt.
- Mix them all using a stand mixer or even your hands until a dough forms and there are no obvious pockets of dry flour.
- Place a lid or plate over the bowl and let the dough rest for 30 minutes.
- Do 2–3 rounds of stretch and folds, about 30 minutes apart. To do a stretch and fold: With damp hands, take one side of the dough. Gently stretch it up without tearing it. Fold it over the middle of the dough. Turn the bowl 90 degrees. Do this on all four sides. As the dough develops strength, it should become smoother and hold its shape better.
- Cover the bowl tightly and leave the dough at room temperature overnight. Because this is a pure sourdough recipe, the fermentation time will depend heavily on your kitchen temperature and the strength of your starter. Allow approximately 8–12 hours, but use the dough (not the clock) as your guide. The dough is ready when it: Looks noticeably larger and puffy Has a smoother surface Feels lighter and aerated Has visible bubbles around the edges Jiggles slightly when the bowl is gently shaken It doesn't need to double in size. Important: If your kitchen is very warm, the dough may ferment much faster. If your kitchen is cool, it may take a little longer.
- In the morning, lightly flour your work surface. Transfer the fermented dough onto the surface.
- Gently press the dough down to release some of the larger air pockets. Don't aggressively punch it down.
- Using a rolling pin, roll the dough into a 12 × 15-inch rectangle, keeping the thickness as even as possible.
- In a small bowl, combine the softened butter, sugar, pumpkin pie spice, and cinnamon. Mix them all until you have a soft, spreadable paste.
- Spread the filling evenly over the dough, leaving approximately ½-inch border around the edges.
- Starting at one of the 15-inch edges, gently roll the dough into a log. Roll it firmly enough to create a tight spiral, but don't compress the dough. Continue rolling until you have a log approximately 15 inches long.
- Pinch the seam closed when you reach the end.
- Cut the log into 10 equal pieces. For the cleanest cuts, use unflavored kitchen string or dental floss. Slide the string underneath the log. Bring both ends upward, cross them over the top of the dough, and pull in opposite directions. Cut the log into 10 equal rolls, approximately 1½ inches thick each. For the most consistent rolls, use a ruler to mark the log before cutting.
- Lightly butter an oven-safe pan or skillet. Arrange the 10 rolls, cut-side up, leaving a little space between the rolls. They will expand considerably during the second rise and should eventually begin touching. Cover them loosely.
- Allow the shaped rolls to rise at room temperature for approximately 1–3 hours. The rolls are ready to bake when they are noticeably puffy, soft and airy and beginning to touch each other and slightly jiggly when the pan is gently moved. They don't necessarily need to double in size. If you gently press the dough with a fingertip, the indentation should slowly spring back.
- Preheat the oven to 350°F (175°C).
- Bake the rolls for 25–32 minutes, or until they are lightly golden brown on top and cooked through in the center. For the most reliable result, check the center with an instant-read thermometer. Aim for 190–200°F (88–93°C). The rolls should look puffed and set, with lightly golden tops, and the center should no longer look wet or doughy. A finished roll will also feel soft and springy when you press it gently. Don't overbake your rolls. The goal here is soft, tender cinnamon rolls, not dry bread. If the tops begin browning too quickly, loosely cover the pan or skillet with aluminum foil for the rest of the baking time.
- While the rolls cool, beat the butter and softened cream cheese together until they become smooth.
- Add the powdered sugar and vanilla and mix them all until they are combined.
- Add the milk, 1 tablespoon at a time, until the frosting gets to your preferred consistency. Adjust the milk amount to get to your desired consistency: use less for a thicker spread or a bit more for a pourable drizzle. If you happen to have any lumps, gently microwave the mixture in short 5–10 second bursts, whisking thoroughly between each burst to get a smooth finish.
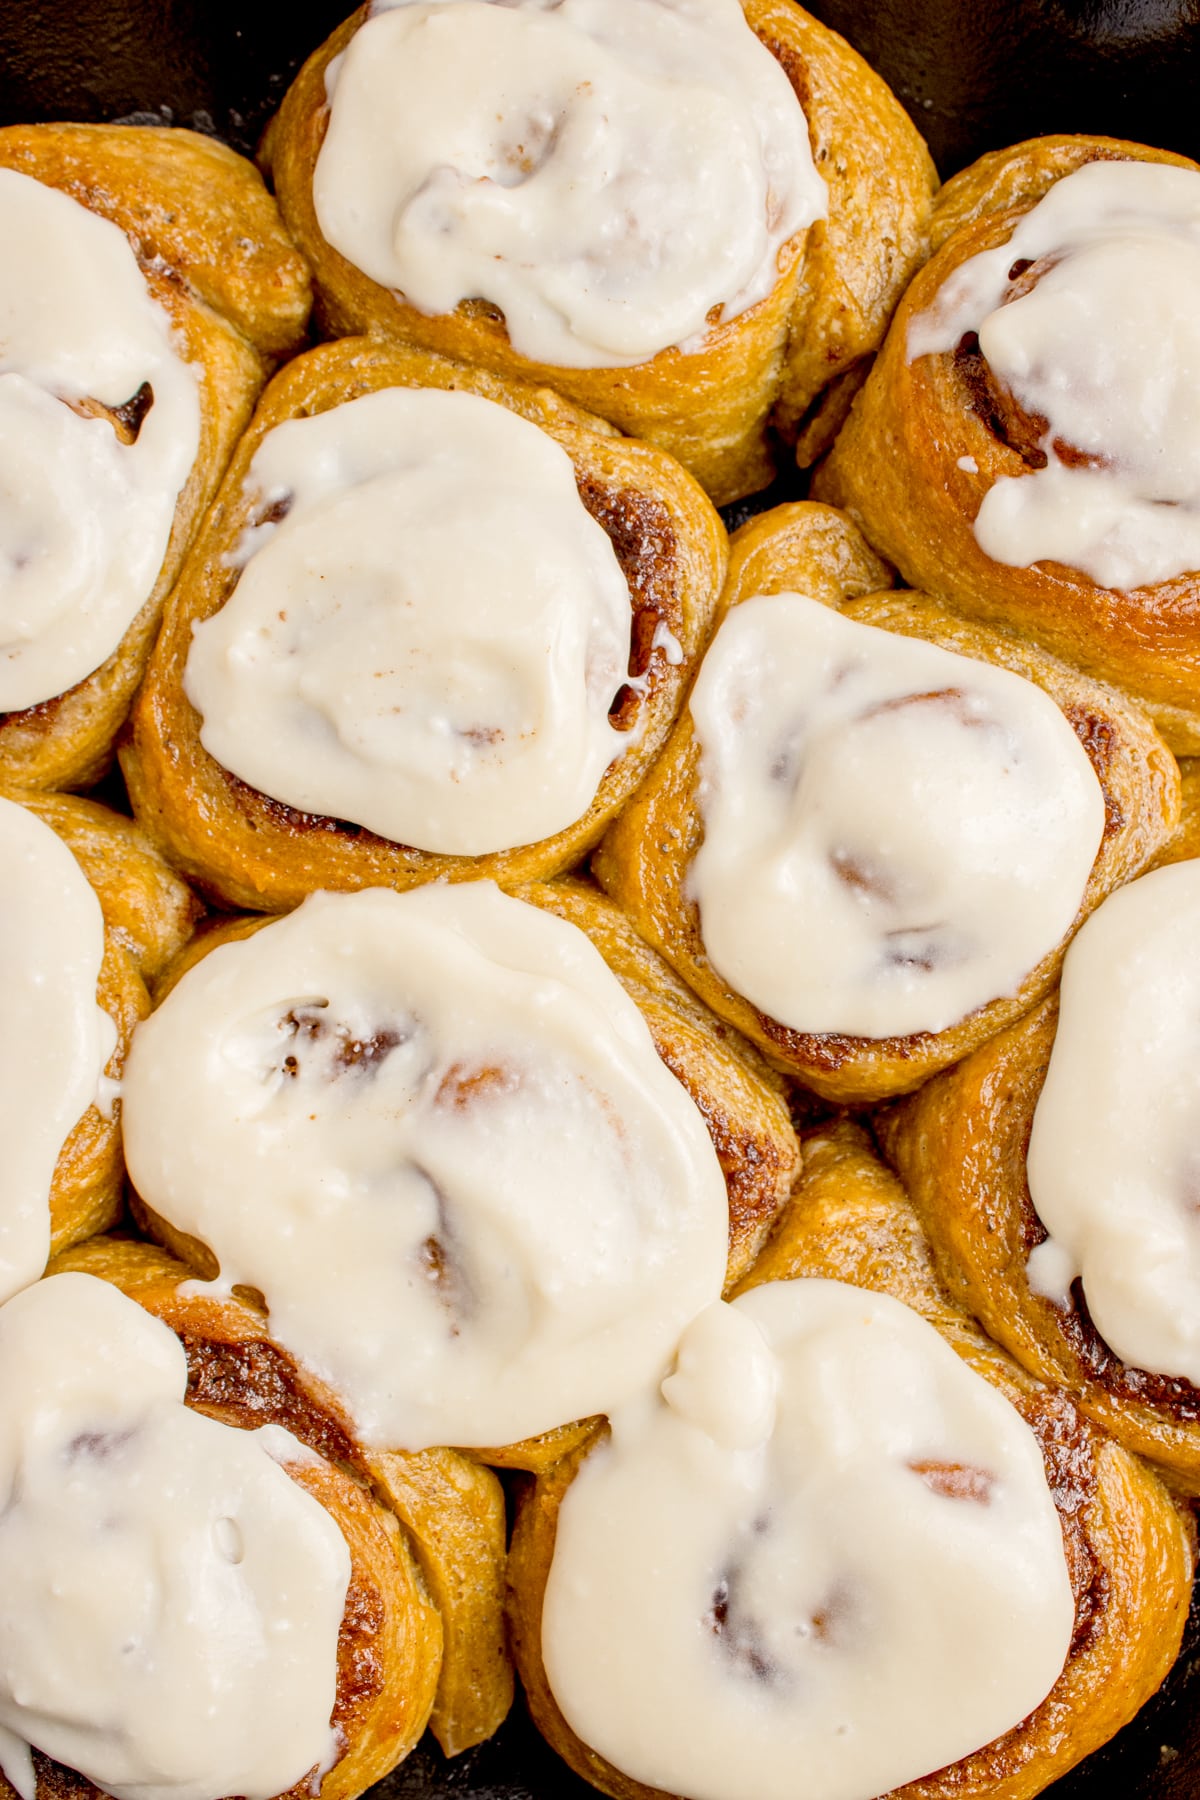
- Spread the cream cheese frosting on top of the rolls. The warmth of the rolls will soften the frosting slightly and allow it to settle into the swirls.
